What is Macro Photography?
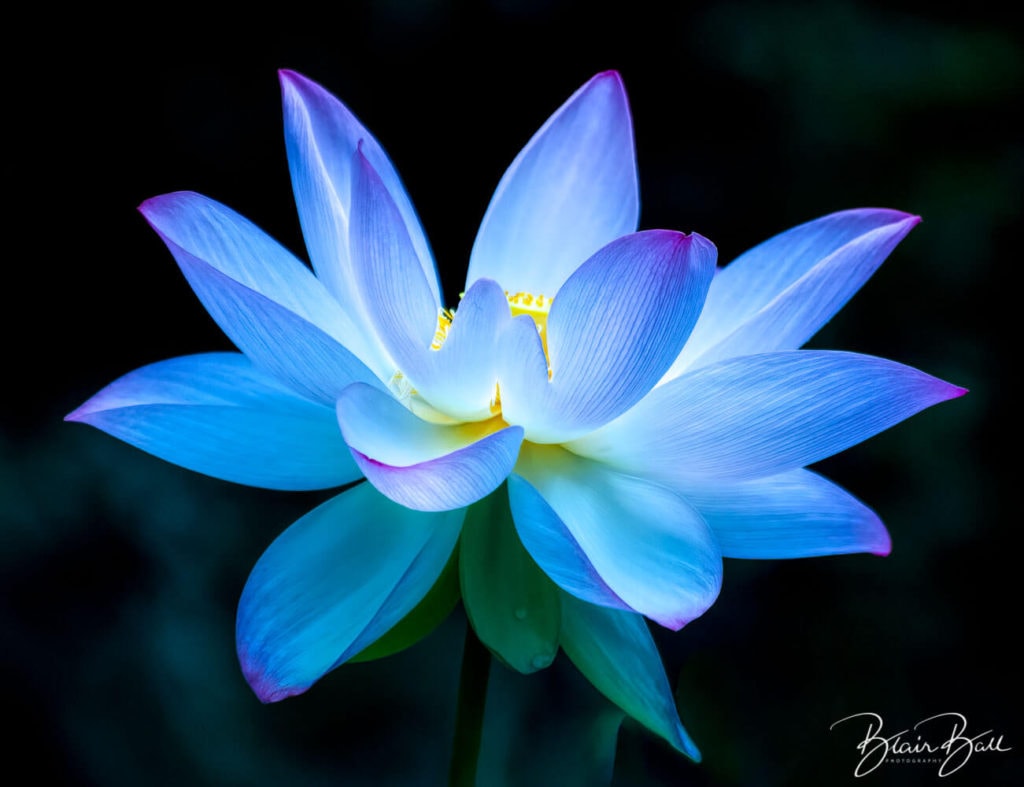
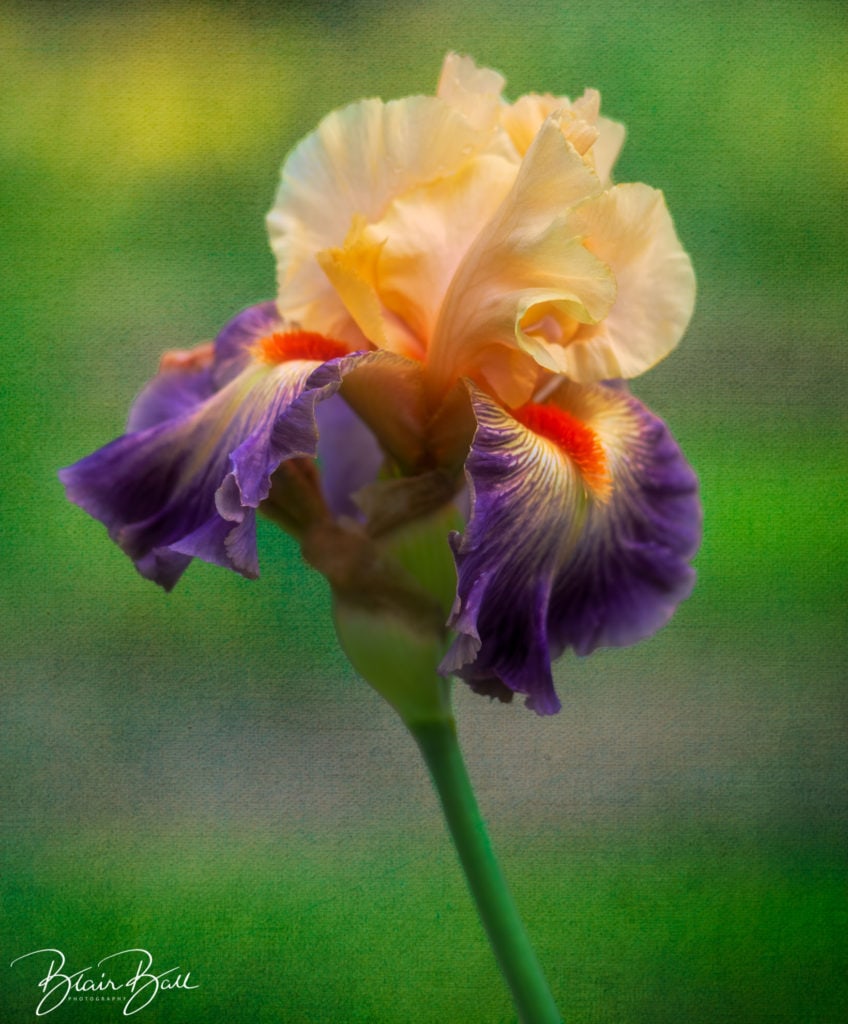
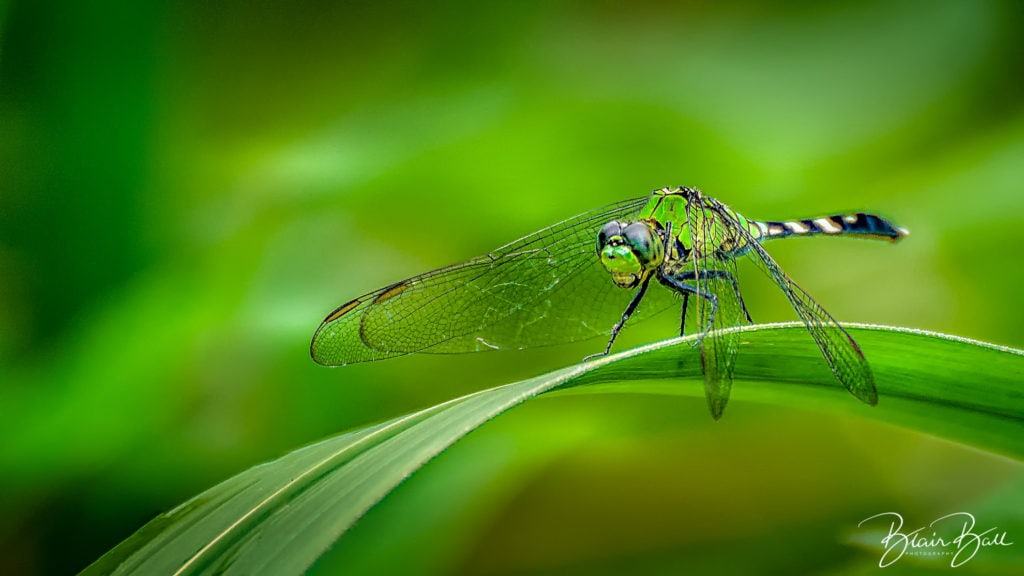
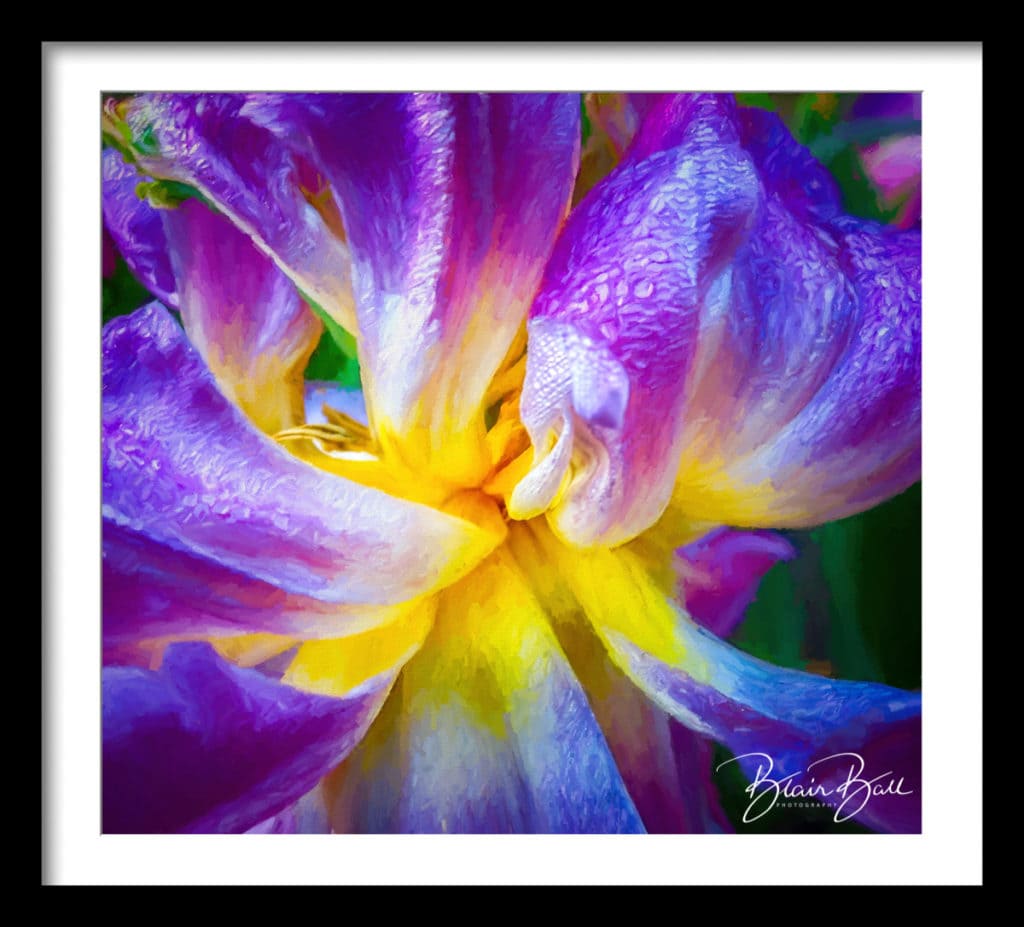
Macro photography is a unique form of photography that involves photographing small objects to make them look life-sized or larger in the photo. The usual subjects include flowers and small insects, which we don’t normally get to see up close with the naked eye.
Good macro lenses let you shoot at 1:1 magnification. Personally, my recommendation is to get a lens that can go to at least 1:2 magnification, and ideally 1:1 magnification, if you want as much flexibility as possible.
Check out these Macro Photography Top Tips.
What Is Magnification?
In macro photography, it is important to know how large or small your subject appears on your camera sensor. Comparing this number versus your subject’s size in the real world gives you a value known as your magnification.
A close-up photograph with a non-macro lens will make small subjects larger, but a macro lens will dramatically increase the degree of magnification and make even the most minuscule details visible.
To make things easier to understand and compare, macro photographers use an actual ratio rather than always saying “life size” or “half life size.” Specifically, life size is 1:1 magnification. Half life size is 1:2 magnification. Once you get to about one-tenth of life size, you arguably are not doing close-up or macro photography any more.
consider Your Working Distance
Simply put how far away are you from the subject? The closer you get the more bugs, and insects get skittish. You then lose the potential for a great composition. Sometimes you may cast a shadow onto the subject by being so close.
Consider using a longer lens. Sometimes I’ll use my 300mm and put on a Kenco extension to really get close and magnify the subject. Be sure to use a tripod when doing macro. Also, with extension tubes you will need to move your camera forward and back to get the subject into focus.
What is the Best Equipment
For macro photography, both DSLRs and mirrorless cameras can work very well. Even some point and shoot cameras with a macro setting can do very nicely. Let’s not forget your iPhone.
The key is to pick a camera that lets you use a good macro lens, and ideally one which has as little lag as possible between seeing your subject, pressing the shutter button, and having the image recorded. Traditionally, these both were areas where DSLRs held an advantage, due to lagging electronic viewfinders and fewer native macro lenses on mirrorless cameras.
Today, those differences are generally negligible, and sometimes lean in favor of mirrorless.
FOR LENSES: There’s a wide arrary of macro lenses ranging from 50mm, 60mm, 105mm, even 180-20mm.
If you don’t have a macro lens, consider getting Kenco Extension Tubes, which attach to front of your camera and then you lens attaches to it. Last I would choose a diopter which is a piece of glass that threads onto your lens with different magnification settings.
Down side to those is sharpness of image.
Choose a suitable subject
Contrary to popular belief, not everything will make for a good macro subject. There are certain subjects that are indiscernible when viewed close up and without context—and if your viewer can’t understand what they’re looking at when they see your macro shot, how can they appreciate it?
But of course, this is all a question of preference and aesthetics. If the subject you photographed appears confusing in macro but is still aesthetically pleasing to the eyes, then it definitely qualifies as a suitable subject.
Common subjects include small insects, butterflies, rain drops, and small objects such as miniature dolls, jewelry, and household items. Inanimate objects are fairly easy to photograph as they don’t move, but insects and bugs can be a lot more challenging. One key tip for photographing them is to shoot from a safe distance to avoid scaring them off.
Choose your background wisely
If you’re shooting outdoors, you may not have that much control over your background. Move your feet left, right, up and down. Get a different perspective on your subject.
However, you can change your perspective or maybe use that “third hand” support for positioning your object, such as a leaf or flower, to face you from another angle. Some photographers use a tool called a Plamp.
Sometimes I will bring a handmade cardboard 1 X 2 painted green to put in back of my subject. Usually about a foot or more away.
Pay Attention to Depth of Field
One of the challenges in doing macro photography is achieving the right balance between desired sharpness and depth of field. This is one of the best Macro Photography top tips!
If you are able to shoot from a perspective or angle that allows you to fit the most important or interesting parts of your subject on a single plane of focus, which ensures that your subject remains sharp while still maintaining beautiful background bokeh, then it’s all a matter of finding the largest aperture that will allow you to do that without leaving your subject blurred out in certain parts.
For non-macro photography, your subject won’t be especially close to your camera – maybe 5 or 6 meters, or even as far away as the horizon. At these distances, a normal aperture of f/8 or f/11 typically will render a sharp scene from front to back (aside from extreme telephoto shots, since telephotos have less depth of field).
Macro photography is different. When you take close-up photos, you naturally end up with very little depth of field, even at small aperture values. At 1:1 magnification, your depth of field may be so thin that you can’t get a fly’s head and feet both to appear sharp at the same time, even though they are just millimeters apart!
Option I: Open Up Your Aperture
You may choose to live with a thin depth of field for your macro photography – to the point where you won’t be able to get an entire ant head to appear sharp at the same time. If that seems fine to you, just open your lens’s aperture as wide as possible (or only slightly stopped down – something from f/2.8 to f/5.6), and you’re set to take macro photos.
The benefit of this approach is that you don’t have to worry about complex lighting setups or software fixes to make your macro photos look good, since you’ll generally capture enough light to make things work. The downside is that it becomes nearly impossible to focus your lens at the closest magnifications, since there is essentially no depth of field.
For that reason, this method works best if you are trying to take photos of subjects that are a bit larger, in the range of 1:4 to 1:10 magnification. However, I do not recommend it if you want to take life-size photos at 1:1 magnification.
option II: Stop Down & Use a Flash
The next method is to stop down the aperture to a small value. By small, I mean f/16 or f/22. The upside to using such a small aperture is that it is easier to get your subject to appear in focus – though still tough – and your depth of field becomes manageable. You sacrifice shutter speed in doing so.
However, a flash is essentially mandatory with this method, since you are losing a huge amount of light.
On top of that, diffraction starts to have a noticeable impact on the sharpness of your photos. Still, it is important to keep in mind that an f/22 image with diffraction looks far sharper than an f/4 picture without any depth of field.
Option III: Stack a Group of Macro Photos
Another method is focus stacking. It involves taking your photos at more “moderate” apertures, with lower diffraction but a shallow depth of field (usually f/8 or f/11).
To counteract this tiny depth of field, you take several photos at different focus distances and combine the best parts of each in post-processing.
For example, you may take one photo where a bug’s head is in focus, one where the wings are in focus, and a third where the back legs are in focus. Then, you can merge them into a sharp bug photo from front to back.
This works well, however you must have software to merge these images together, and it takes time.
Focusing Tips for Macro Photography
You will almost certainly need to focus manually at 1:1 macro distances, since the autofocus system in any camera cannot work fast enough to counteract your movements. However, this may not mean what you think it does.
Some photographers attempt to use manual focus incorrectly for macro photography; they hold the camera as steadily as possible and turn the focus ring left or right to focus, taking the photo when the viewfinder image looks sharp. That simply doesn’t work! This might work fine to focus manually for non-macro photos, but it is not feasible for handheld macro photography. Your hand movements from focusing will make the frame even shakier, and it will become impossible to change focus quickly.
Use LIVE view when you can.
Instead, the best method is to keep your macro photography lens fixed at a certain magnification. Then, slowly rock the camera forward and backward – sometimes on a tripod or monopod – millimeters at a time, while looking through the viewfinder. When the viewfinder image is sharp, take the photo.
This is especially true when using extension tubes.
Be patient
Did he just mention patience…It’s a great stress reliever to slow down and view/photograph the world around you.
Macro photography can be a very rewarding style of photography. While there are a lot of things to remember in order to achieve a good professional macro shot, practice helps make it a habit.
Once you get used to it, it becomes a skill and you’d be well on your way to improving your shots with every click of the shutter.
Comment below about Macro Photography Top Tips.
Come Join Us in March for a great MACRO PHOTOGRAPHY WORKSHOP. WE HAVE A FEW SPOTS REMAING.
MORE INFORMATION: https://memphisprofessionalphotographer.com/macro-photography-workshop/
Photos by Blair Ball Photography
Call or email me to assist in telling your story. Our list of services.
Be sure to check out our upcoming workshops.
bballphoto@comcast.net | 901-378-7450